
Transform your walls into stunning works of art with stencils! You'll love how easy it is to create personalized designs that reflect your style. Start by choosing a stencil that complements your room's aesthetic, then gather your supplies like brushes, paint, and painter's tape. Prep your wall surface for the best results, and carefully position your stencil. Apply paint with gentle, even pressure for crisp lines. For added depth, try layering different stencils and colors. Don't forget those finishing touches to protect and enhance your masterpiece. With a little creativity and patience, you'll soon have a cozy, eye-catching focal point that'll make your space feel uniquely yours. The possibilities are endless when you explore this delightful DIY technique.
Key Takeaways
- Choose stencil designs that complement your room's style and color scheme for a cohesive look.
- Prepare the wall surface by cleaning, priming, and sanding to ensure smooth paint application.
- Position and secure stencils carefully using painter's tape or spray adhesive for crisp, clean lines.
- Apply paint with light, even pressure using a brush or roller, starting from the edges.
- Create depth and visual interest by layering stencils and experimenting with different colors or finishes.
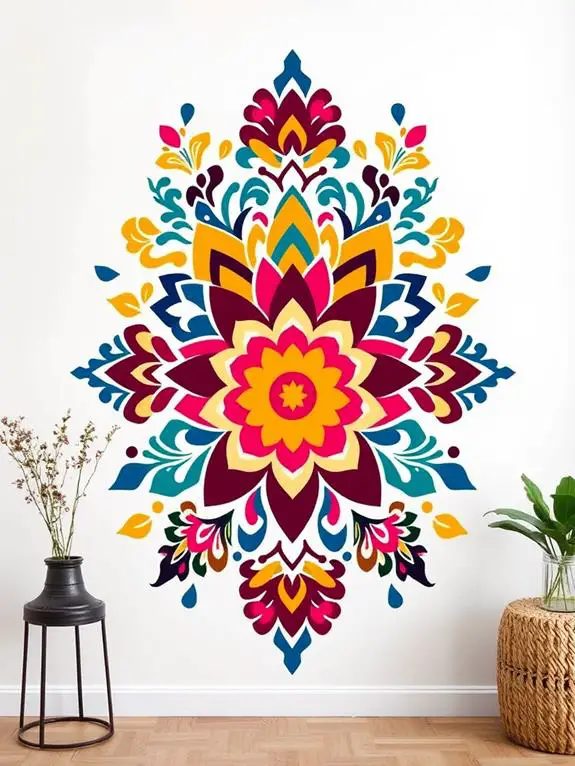
Choosing the Right Stencil Design
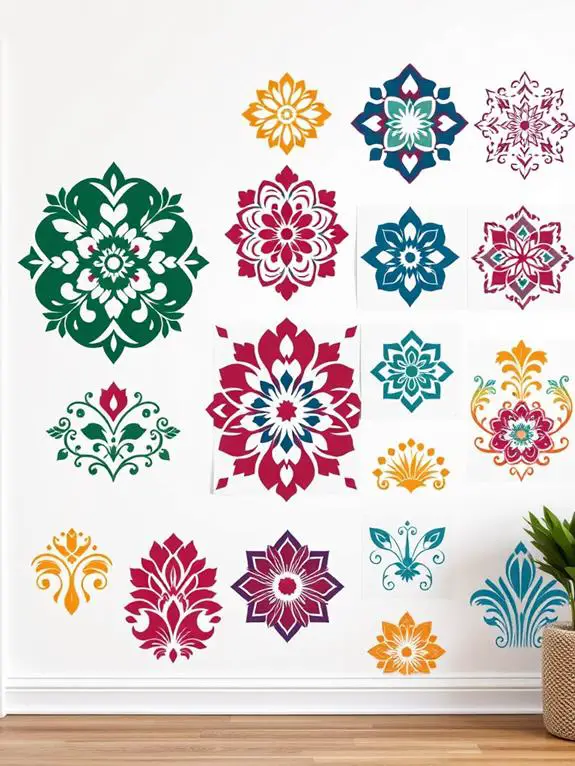
When it comes to creating stunning wall art with stencils, selecting the right design is essential. Consider your room's style and color scheme to find a pattern that complements your space. Geometric shapes work well in modern interiors, while floral designs add a touch of romance to traditional rooms. Don't be afraid to mix and match stencils for a unique look! For a spring-inspired rooftop feel, consider incorporating nature-themed stencils like leaves, branches, or butterflies into your wall art design.
Think about scale, too. Large stencils make bold statements, perfect for accent walls, while smaller patterns create subtle texture throughout a room. If you're new to stenciling, start with simpler designs and work your way up to more intricate patterns. Remember, your chosen stencil should reflect your personality and bring joy to your space. Take your time browsing options, and you'll find the perfect design to transform your walls into works of art.
Gathering Essential Supplies
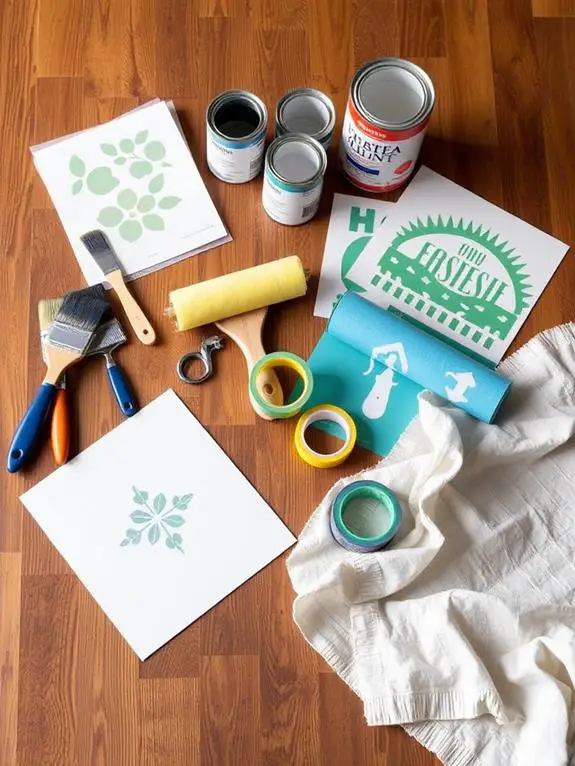
Before diving into your stenciling project, you'll need to gather the essential supplies. Start with a high-quality stencil brush or foam roller, perfect for applying paint evenly. You'll also want to choose paint that's suitable for your wall surface – acrylic or latex paints work wonderfully. Don't forget painter's tape to secure your stencil and protect surrounding areas. A spray adhesive can help keep intricate stencils in place, ensuring crisp lines. While preparing your supplies, keep in mind that site maintenance may affect online purchases, so plan accordingly and check for alternative options if needed.
For comfort during your project, grab a soft knee pad or cushion to kneel on. A small container for your paint and a palette for mixing colors will come in handy. Finally, pick up some cleaning supplies like paper towels and a gentle cleaner for your brushes. With these items at the ready, you'll be all set to create your stunning wall art masterpiece.
Preparing Your Wall Surface
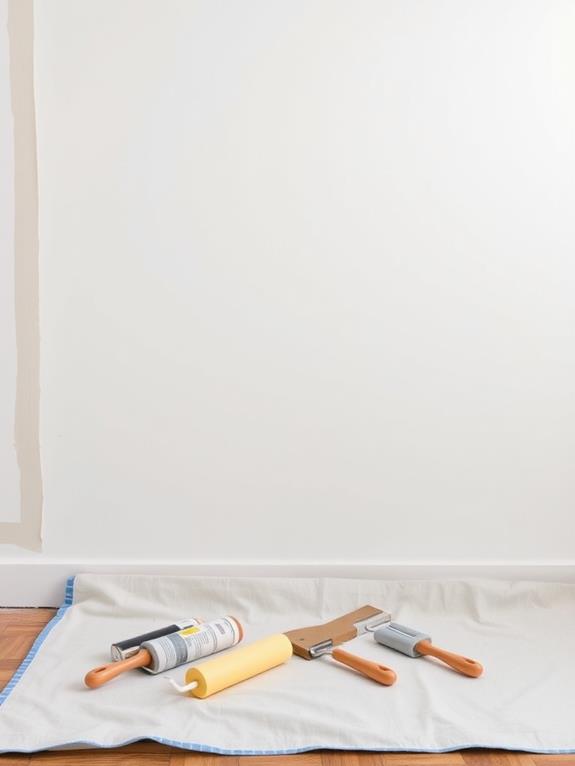
Properly preparing your wall surface is essential for achieving professional-looking results with your stencil project. Start by giving your wall a thorough cleaning to remove any dust or grime. You'll want a smooth canvas, so fill in any holes or cracks with spackling compound and sand them down once dry. Next, apply a coat of primer to create an even surface and help your paint adhere better. This step is especially important if you're working with a dark or textured wall. While you wait for the primer to dry, consider exploring future improvements that may enhance your overall stenciling experience. Once the primer's dry, give it a light sanding to guarantee it's silky smooth. Don't forget to wipe away any dust with a damp cloth. Now, you're ready to paint your base color. Choose a shade that'll make your stencil design pop, and apply it evenly with a roller.
Positioning and Securing the Stencil
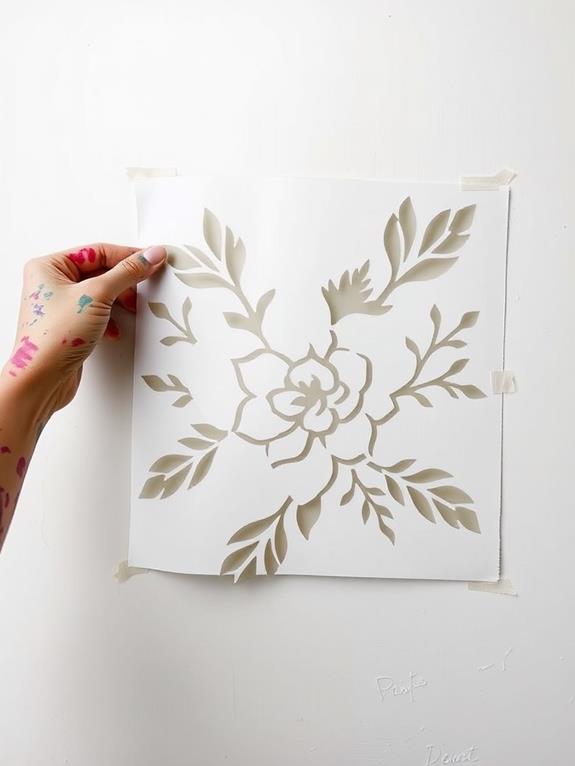
With your wall prepped and painted, it's time to focus on positioning and securing your stencil. Choose a spot that'll be the heart of your design, considering the room's layout and your vision. Gently place the stencil against the wall, feeling its texture beneath your fingertips. Use a level to guarantee it's perfectly straight, adjusting until it feels just right. If you're working on an outdoor space, consider spring patio decor ideas to complement your new wall art and create a cohesive look.
Once you're happy with the placement, it's time to secure your stencil. Grab some painter's tape and carefully apply it along the edges, pressing firmly to create a snug seal. This'll prevent paint from seeping underneath and keep your lines crisp. For larger stencils, you might want to use spray adhesive for extra stability. Apply it lightly to the back of the stencil, then press it onto the wall with care.
Applying Paint Effectively
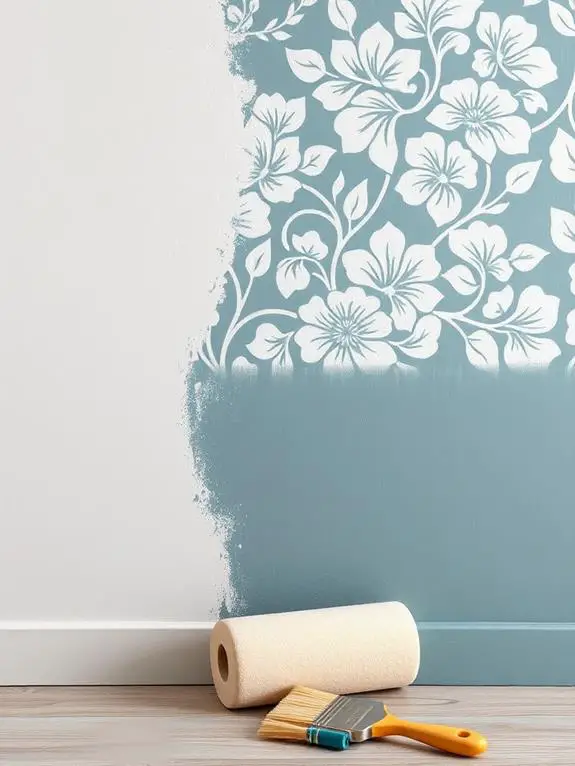
Grab your paint and brush – it's time to bring your stencil design to life! Dip your brush or roller in your chosen paint color, making sure not to overload it. You want just enough paint to cover the stencil without seeping underneath. Start from the outer edges of the stencil, working your way inward with gentle, dabbing motions. This technique helps prevent paint from bleeding under the edges. Consider adding fall-inspired colors to your bathroom stencil design for a cozy, seasonal touch.
As you work, you'll feel a sense of excitement building. The once-blank wall is slowly transforming before your eyes! Remember to use light, even pressure to create a smooth finish. If you need multiple coats, let the first layer dry completely before applying the next. This patience will reward you with crisp, clean lines that'll make your heart soar when you peel away the stencil.
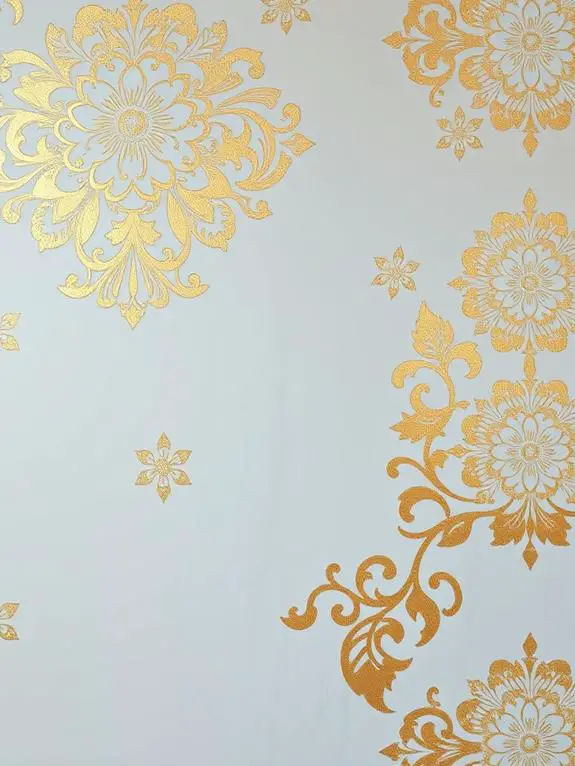
Creating Multi-Layered Stencil Art
Take your stencil art up a notch by layering multiple designs for a more complex and visually striking result. Start with a base layer, using a larger stencil to create a background pattern. Once it's dry, add depth by applying a second, smaller stencil on top. You'll love how the colors and shapes interact, creating a rich tapestry of texture on your wall. For a truly enchanting effect, try using different paint colors or finishes for each layer. Metallic accents can add a touch of glamour, while matte finishes create a soft, dreamy look. Don't be afraid to experiment with overlapping patterns – you might be surprised by the beautiful, unexpected combinations you discover. This technique is perfect for elevating your entryway with a personalized touch that welcomes guests in style. Remember, patience is key when working with multiple layers. Allow each one to dry completely before moving on to the next, ensuring crisp, clean lines throughout your artwork.
Finishing Touches and Maintenance
Once you've completed your stencil masterpiece, it's time to add those essential finishing touches and guarantee its longevity. Step back and admire your work, then gently remove any remaining paint residue with a damp cloth. To protect your art and enhance its vibrancy, apply a clear sealant. This will also make cleaning easier in the future. Consider incorporating winter-themed elements into your stencil design to create a cozy, seasonal atmosphere in your family room. If you've used metallic paints, consider buffing them lightly with a soft cloth for extra shine. Don't forget to sign your creation – it's a unique piece of art, after all! To maintain your stenciled wall, dust it regularly with a soft brush or microfiber cloth. For stubborn marks, use a mild soap solution and dab gently. With proper care, your stunning wall art will continue to brighten your space for years to come.
Frequently Asked Questions
Can Stencil Art Be Applied to Textured Walls?
Like a delicate butterfly landing on a rugged tree bark, stencil art can indeed grace textured walls. You'll need to approach it with care and patience. Start by selecting a stencil with a simpler design, as intricate patterns might get lost in the texture. Use a stippling technique with a stencil brush or foam roller to apply paint evenly. Don't be discouraged if your first attempt isn't perfect; practice makes progress. With a little perseverance, you'll soon create beautiful art on your textured canvas.
How Do I Remove Stencil Art Without Damaging the Underlying Wall?
You'll be relieved to know that removing stencil art doesn't have to be a headache. Start by gently scraping off excess paint with a plastic putty knife. For stubborn spots, apply a thin layer of paint remover and let it sit. Once softened, wipe away with a damp cloth. If you're dealing with water-based paint, warm, soapy water might do the trick. Remember to work slowly and carefully to protect your wall's surface. With patience, you'll have a clean slate in no time!
Are There Eco-Friendly Alternatives to Traditional Stencil Paints?
You'll be delighted to know that eco-friendly alternatives to traditional stencil paints do exist! Imagine creating beautiful art while being kind to the environment. You can try natural milk paints, which are biodegradable and non-toxic. Clay-based paints offer another earth-friendly option, providing rich colors without harmful chemicals. Don't forget about plant-based paints made from vegetable dyes. These alternatives not only reduce your environmental impact but also create a healthier indoor atmosphere for you and your loved ones.
Can I Create Custom Stencils for Personalized Wall Art Designs?
You can create custom stencils for your personalized wall art designs. It's a fun and creative process that lets you bring your unique ideas to life. You'll need a stencil material, like mylar or acetate, and a cutting tool. Sketch your design, then carefully cut it out. Don't forget to leave bridges to keep floating pieces in place. With your custom stencil, you're ready to transform your walls into a one-of-a-kind masterpiece that reflects your style and personality.
What's the Best Way to Store and Clean Stencils Between Uses?
You'll want to keep your stencils in tip-top shape between uses. After each project, gently clean them with warm, soapy water and a soft brush. Pat them dry with a lint-free cloth, then store them flat in a cool, dry place. For larger stencils, roll them carefully and secure with a loose rubber band. Avoid folding, as this can create creases. If you're short on space, try hanging them on hooks or storing them in a portfolio case.