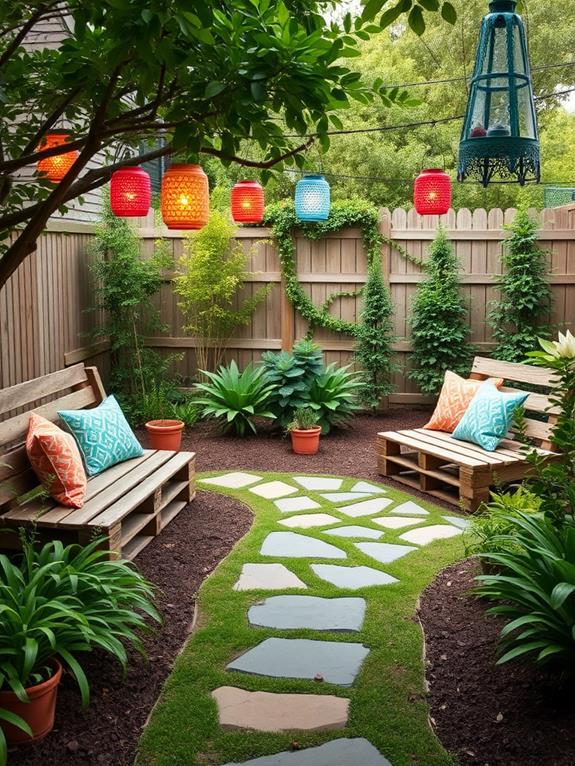
Bring life to your outdoor area with these budget-friendly DIY decor ideas. Start by painting terra cotta pots with vibrant patterns to showcase your favorite plants. Craft planter boxes from pallet wood or repurpose an old tire into a striking flower planter. Illuminate your evenings with enchanting Mason jar candle holders or hang whimsical tin can lanterns. Create soothing sounds with recycled bottle wind chimes. Lay a charming path using DIY stepping stones, or stenciled rugs to warm up your patio. With simple materials and bursts of creativity, your garden becomes a personalized retreat. Discover how easily you can transform your space.
Key Takeaways
- Transform plain terra cotta pots with acrylic paint for colorful, weather-resistant garden accents.
- Craft planter boxes from recycled pallet wood, adding soil retention with landscape fabric.
- Create ambient lighting with Mason jar lanterns, incorporating wire handles and tealight candles.
- Use old tin cans as lanterns by punching holes for light and adding vibrant paint.
- Design unique garden stepping stones using concrete molds and decorative elements like marbles.
Painted Terra Cotta Pots
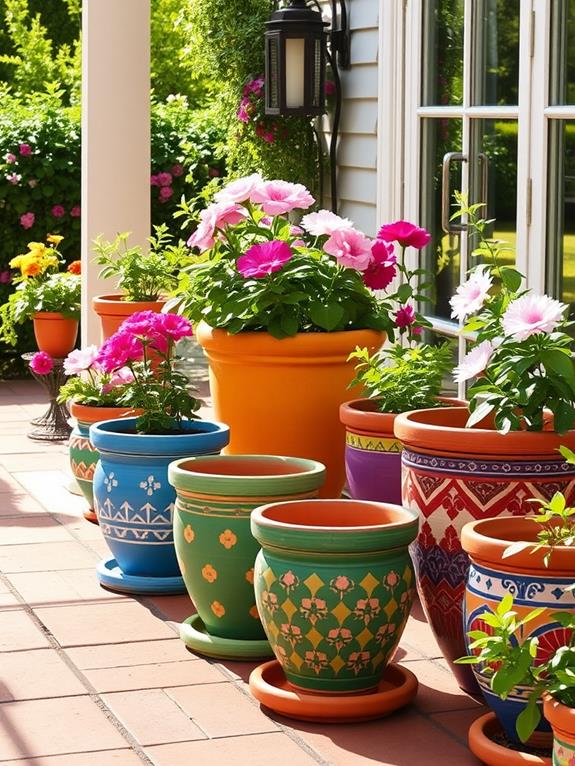
Transforming plain terra cotta pots into colorful garden accents is a simple and enjoyable DIY project that adds personality to your outdoor space. Start by selecting pots of various sizes and shapes to create visual interest. Consider incorporating stunning garden decor ideas inspired by the autumn season for a cohesive look. Grab some acrylic paint in your favorite colors, and don't forget brushes and sealant to protect your work from the elements.
You can let your creativity shine with stripes, polka dots, or even intricate floral designs. If you're feeling adventurous, try blending colors for a marbled effect. Once your pots are dry, seal them to guarantee they withstand rain and sun. Arrange them with vibrant plants or herbs, letting your new creations breathe life into patios or garden corners. You'll enjoy the satisfaction of personalizing your space.
DIY Hanging Lanterns
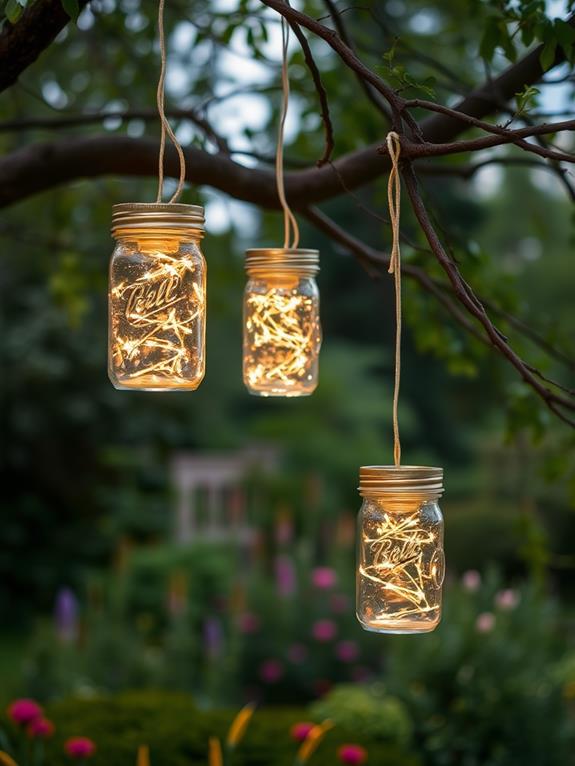
After sprucing up your terra cotta pots, it's time to add some enchanting ambiance with DIY hanging lanterns. Picture your garden bathed in a soft, warm glow as the sun dips below the horizon. To create these charming lanterns, gather some Mason jars, wire, and tealight candles. Wrap wire around the jar's mouth, forming a secure handle for hanging. Incorporating elements of spring garden decor, like colorful ribbons or small floral accents, can enhance the aesthetic appeal of your lanterns. Nestle a tealight inside each jar, letting it flicker gently. Hang them from tree branches or a pergola using sturdy hooks or twine. As the night deepens, your backyard transforms into a magical retreat, the lanterns casting playful shadows and illuminating your evening gatherings. This simple project adds character and warmth, making your outdoor space truly inviting.
Pallet Wood Planter Box
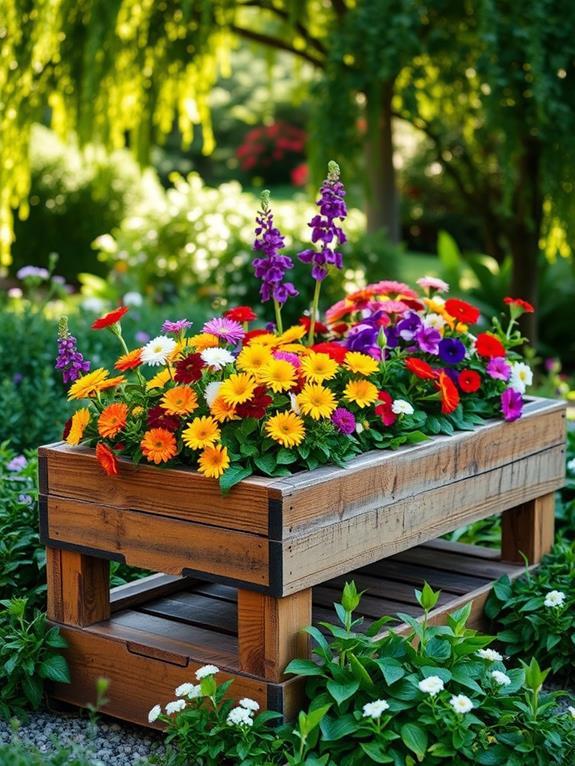
If you're looking for a rustic yet practical addition to your garden, consider crafting a pallet wood planter box. It's a delightful project that invites the charm of nature into your outdoor space. Start by finding an old wooden pallet, often available for free or a small cost. These pallets can be transformed with spring decor essentials to enhance their appeal. After disassembling the pallet, cut the wood to your desired size. Assemble the pieces into a box shape, ensuring it's sturdy enough to hold soil and plants. Sand the wood to avoid splinters, and line the interior with landscape fabric to retain the soil. Finally, plant flowers or herbs of your choice, adding a splash of color and fragrance. This simple, heartfelt project not only beautifies your garden but also offers a personal touch.
Mason Jar Candle Holders
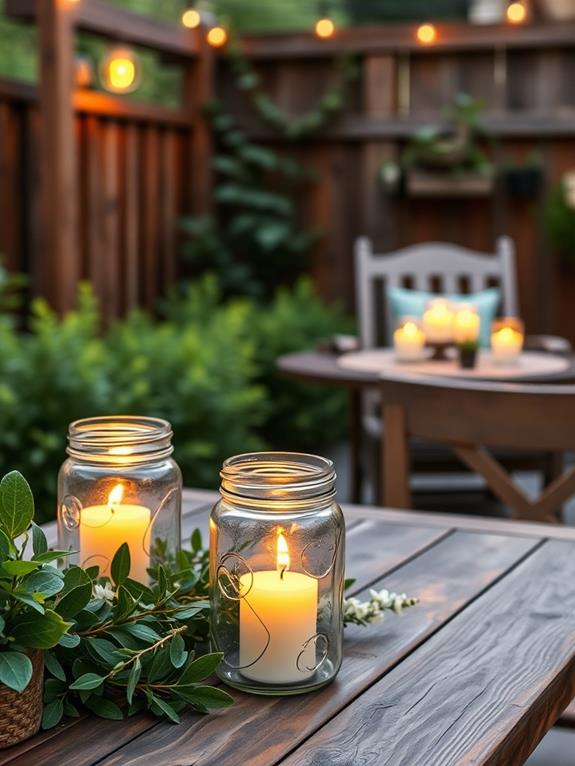
Illuminate your outdoor evenings with charming Mason jar candle holders. These versatile and budget-friendly beauties add a warm glow to any gathering. You can easily create them yourself with just a few simple steps. Here's how you can get started:
- Gather Materials: You'll need Mason jars, tea light candles, and decorative elements like twine or ribbon.
- Assembly: Place a tea light candle inside each jar. Wrap twine or ribbon around the jar's neck for a rustic touch. Feel free to add personal flair with beads or paint.
- Placement: Arrange your candle holders on tables or hang them from tree branches. They'll cast enchanting shadows and create an inviting atmosphere.
Enjoy the cozy ambiance these delightful holders bring to your outdoor space!
Recycled Bottle Wind Chimes
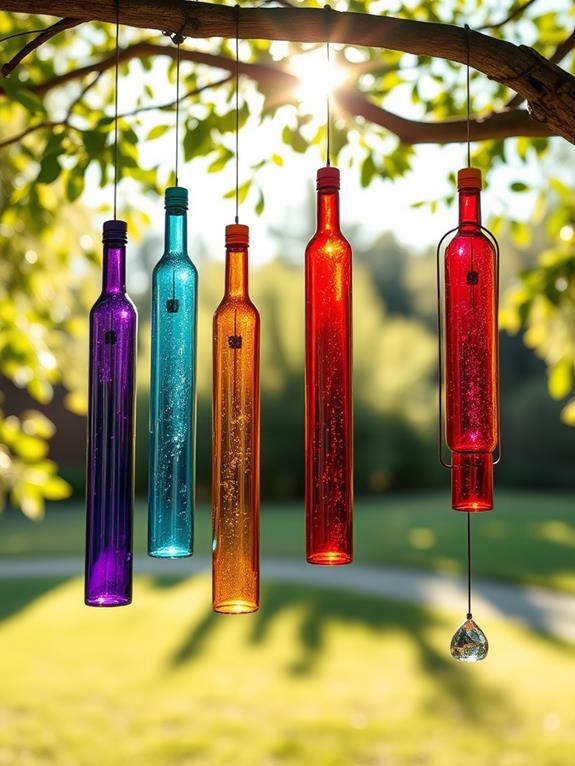
Transform your empty bottles into beautiful wind chimes that dance in the breeze and add a touch of whimsy to your outdoor space. You can create these charming decorations easily, using items you likely already have at home. Start by gathering some colorful glass or plastic bottles. Carefully cut the bottoms off, and sand the edges smooth to prevent any sharpness. Thread a sturdy string through the necks, tying knots to secure each bottle in place. Add beads or small bells between the bottles for added musical notes. Hang your creation on a tree branch or porch, where the wind can gently sway it. As the breeze flows through, you'll enjoy the soothing sounds and unique, colorful reflections it casts.
Rope Wrapped Garden Stones
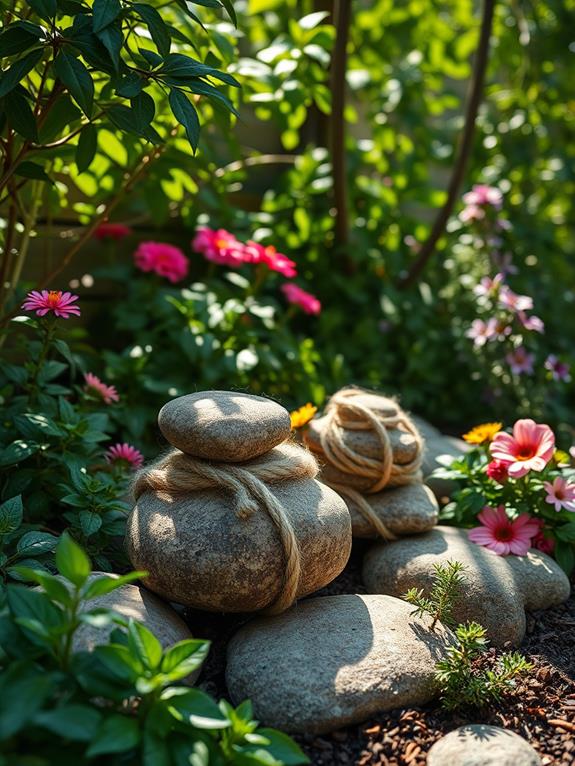
For an earthy and rustic touch to your garden, consider wrapping stones with rope. This simple project adds charm and texture to your outdoor space. Here's how you can create your own rope-wrapped garden stones:
- Select Your Stones: Choose stones that are smooth and fit well in your hand. Their natural shape will enhance the rustic look.
- Wrap with Rope: Use a thick, natural rope for durability. Wrap it tightly around each stone, securing the ends with strong adhesive or a discreet knot.
- Placement: Arrange your wrapped stones around plants, pathways, or even in a decorative pile. They'll add a delightful contrast against greenery.
Feel the warmth and connection of nature as you transform ordinary stones into charming garden features.
Upcycled Tin Can Lanterns
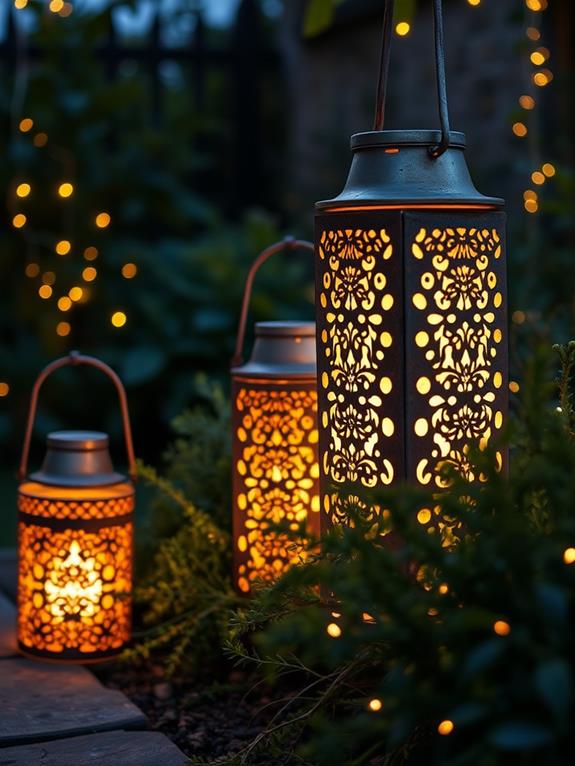
A few simple tin cans can become charming lanterns that add character and ambiance to any outdoor setting. To create these, gather some used tin cans, remove the labels, and wash them thoroughly. Once dry, use a hammer and nail to punch small holes in decorative patterns around the can's surface. These holes will let the light from a candle or LED tea light shine through, casting beautiful shadows. Paint your cans in vibrant colors or leave them rustic for a natural look. Attach a wire handle to hang them from trees or your patio. As evening falls, light them up and watch your space transform. Their gentle glow invites warmth and connection, turning your backyard into a cozy retreat.
Tire Flower Planter
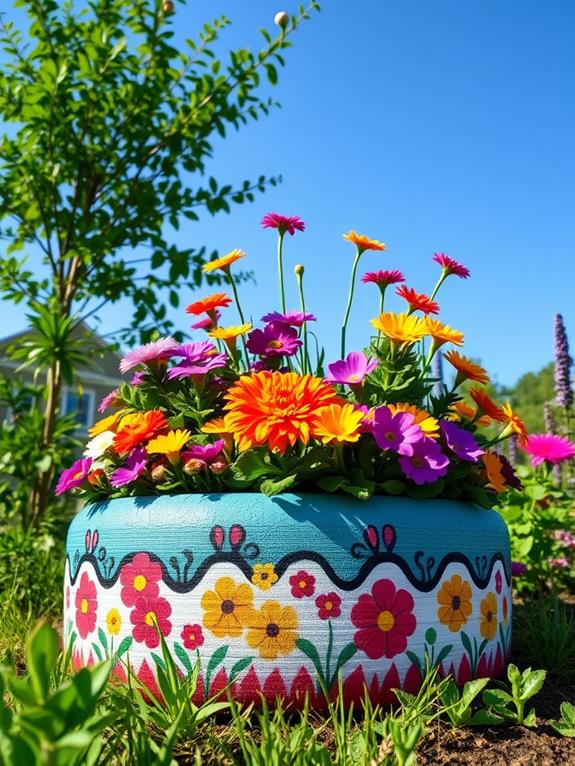
While your upcycled tin can lanterns light up the night, let's bring some daytime charm to your outdoor space with a tire flower planter. This creative project not only recycles old tires but also adds a splash of color to your garden. Imagine cheerful blooms spilling over a vibrant tire planter, turning a simple idea into a vibrant focal point. During maintenance mode, such DIY projects can keep you occupied and your outdoor space lively. Here's how to get started:
- Select a Tire: Choose a tire that's in good condition. Clean it thoroughly to remove any dirt.
- Paint and Decorate: Use outdoor spray paint in bold colors to match your garden theme. Get creative with patterns!
- Planting: Fill the tire with soil and plant your favorite flowers or herbs. Guarantee proper drainage to keep plants healthy.
Enjoy your new garden feature!
Stenciled Outdoor Rugs
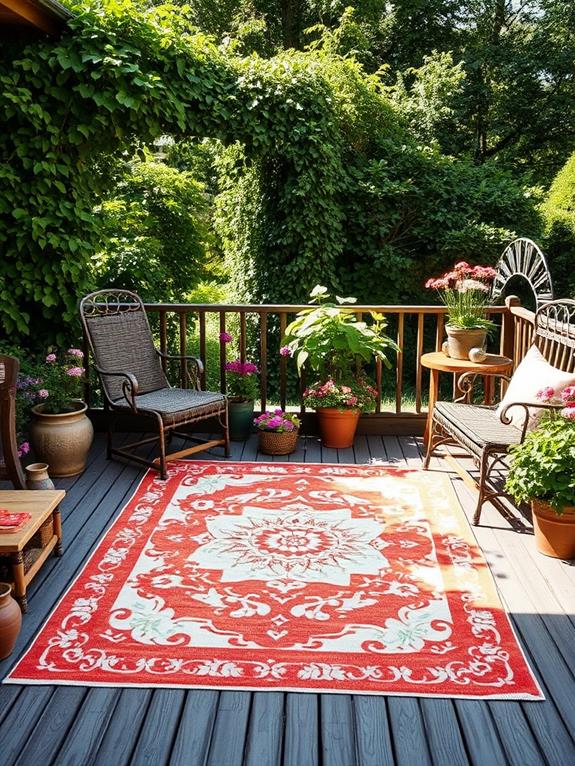
Transform your outdoor space with stenciled rugs that bring both style and personality to your patio or deck. These creative accents can instantly enhance your outdoor living area, making it feel more welcoming and unique. Start by selecting a durable outdoor rug in a color that complements your furniture. Next, choose a stencil design that reflects your taste, whether it's geometric patterns, floral motifs, or something more abstract.
Lay the stencil over the rug and secure it with tape. Use a stencil brush to apply outdoor acrylic paint, gently dabbing the brush to avoid smudging. Let the paint dry completely before removing the stencil. The result? A stunning, custom rug that adds charm and character to your outdoor oasis. Enjoy your refreshed, inviting space!
DIY Garden Stepping Stones
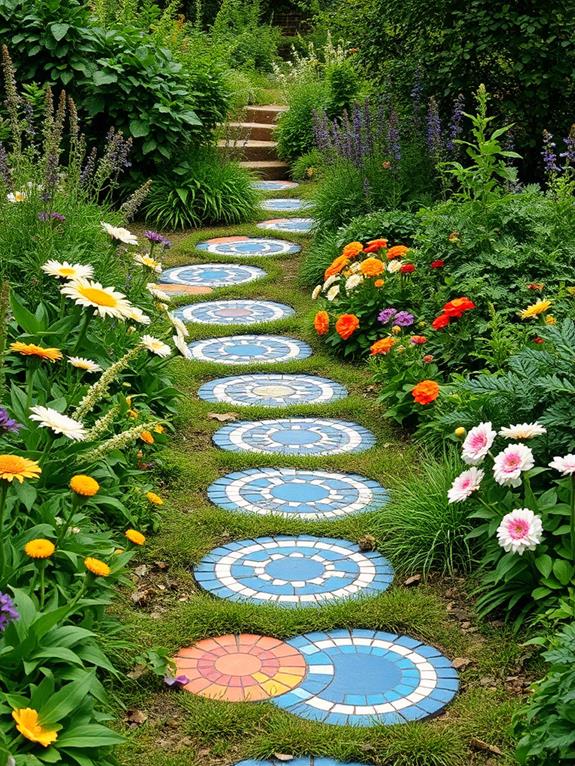
With a little creativity and effort, you can create DIY garden stepping stones that add a personal touch to your outdoor path. Imagine stepping through your garden on homemade stones that reflect your style. Start by selecting molds—use old cake pans or circular trays for unique shapes. Mix concrete, pouring it into the molds, then add decorations like colorful stones or marbles. While the concrete sets, you can even press in leaves for natural patterns. Here's a quick guide:
- Gather materials: concrete mix, molds, decorative items.
- Mix and pour: Follow the instructions on the concrete mix, then pour it into the molds.
- Decorate: Personalize with stones, marbles, or imprints.
These stones will surely charm every guest who visits!
Frequently Asked Questions
How Can I Protect My DIY Outdoor Decor From Weather Damage?
Did you know that about 25% of outdoor decor gets damaged by weather within the first year? To protect your creations, apply a weatherproof sealant. Picture brushing a clear, protective coat over your vibrant DIY pieces, like wrapping them in an invisible raincoat. This simple step shields against rain and sun, keeping colors bright and materials intact. You'll enjoy your beautiful outdoor space longer, with less worry about the unpredictable elements.
What Are Some Budget-Friendly Materials for Outdoor Decor Projects?
When you're diving into outdoor decor projects, you want materials that won't break the bank but still offer charm. Consider using wooden pallets; they're versatile and can be transformed into planters or seating. Terracotta pots, often inexpensive, add a rustic touch. Try repurposing old jars as lanterns or vases. Don't overlook pebbles and stones for pathways or accents. With these materials, you can create a cozy outdoor space that's budget-friendly.
How Can I Involve Kids in Outdoor DIY Projects Safely?
You won't believe how involving kids in outdoor DIY projects can become a delightful coincidence for family bonding and creativity. Start by selecting safe, simple tasks like painting pots or assembling birdhouses. Give them child-sized tools, and always supervise closely. Create a cozy workspace with colorful aprons and cheerful music. Let their imagination soar with vibrant paints and nature-inspired themes. This shared adventure not only decorates but also creates lasting memories together.
Are There Eco-Friendly Options for Outdoor Decor Materials?
Eco-friendly outdoor decor materials are a fantastic choice that both beautify your space and protect the planet. You can consider using reclaimed wood for rustic charm or upcycle old glass jars into stunning lanterns. Natural stones and bamboo add an earthy touch. Recycled metal sculptures or planters can also enhance your garden. These materials not only reduce waste but also give your outdoor area a unique, personalized feel. Embrace sustainability with style!
How Do I Safely Hang or Secure Outdoor Decor Items?
To hang or secure outdoor decor items safely, start by choosing sturdy materials like weather-resistant hooks or zip ties. Always use a ladder or step stool, ensuring it's stable on solid ground. For heavier items, consider using anchors or brackets, attaching them to structural parts like fences or walls. Test the security by gently tugging on the decor. Remember, a little extra effort now prevents future mishaps and keeps your outdoor space inviting.

